As an Amazon Associate, I earn from qualifying purchases
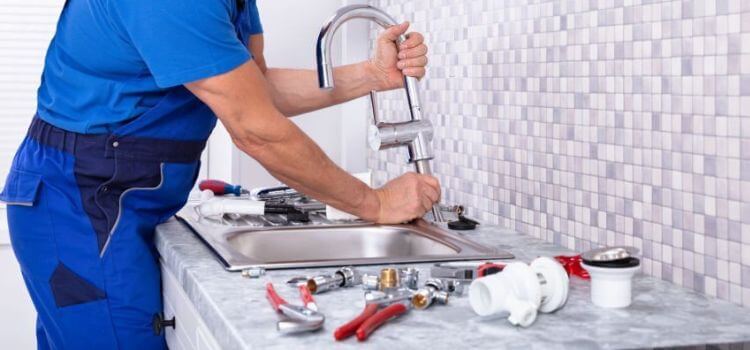
A leaky kitchen faucet can be a frustrating and costly problem, leading to increased water bills and potential damage to your kitchen fixtures. Kohler is a popular and reputable brand known for its stylish and durable faucets.
This information will walk you through the steps to identify and how to fix a leaky Kohler kitchen faucet, helping you save money and conserve water while protecting your home from water damage.
Type of Kohler Kitchen Faucet
Before you can begin fixing your leaky faucet, you must identify the specific type of Kohler kitchen faucet you have. Kohler offers various designs, and the process of repairing each kind may differ slightly.
Single-Handle Faucet
A single-handle faucet has one lever or knob that controls the water flow and temperature. This design is popular due to its ease of use and streamlined appearance.
Double-Handle Faucet
A double-handle faucet features two separate hot and cold water handles, allowing for more precise temperature control. These faucets often have a more traditional appearance.
Pull-Down orPull-Out Faucet
These faucets have a spray head that can be pulled down or out from the spout for more flexibility. The spray head typically has a button to switch between stream and spray functions.
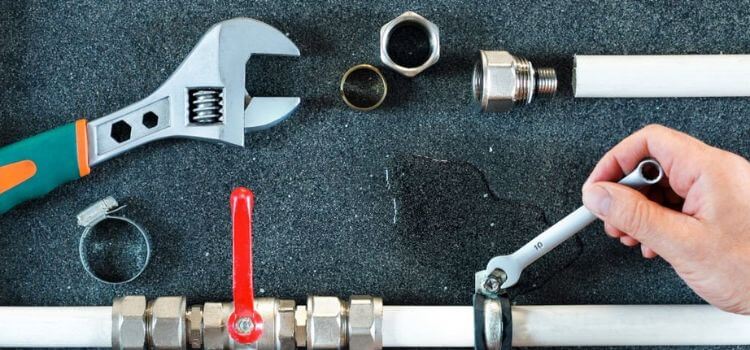
Essential Tools For Fixing a Leaky Kohler Kitchen Faucet
Before repairing your leaky faucet, gather the necessary tools to confirm a smooth and efficient process. Here’s a list of essential tools:
Adjustable wrench
You can tighten or loosen different nuts and bolts on your faucet with an adjustable wrench, which is a useful tool.
Plumber’s tape
Also known as Teflon tape, a plumber’s tape creates a watertight seal on threaded connections.
Screwdriver
A screwdriver will be needed to remove screws during the disassembly and reassembly.
Replacement parts (as needed)
Depending on the cause of the leak, you may need to replace certain parts of your faucet, such as cartridges, O-rings, or washers. Check your faucet’s manual or the Kohler website for the appropriate replacement parts.
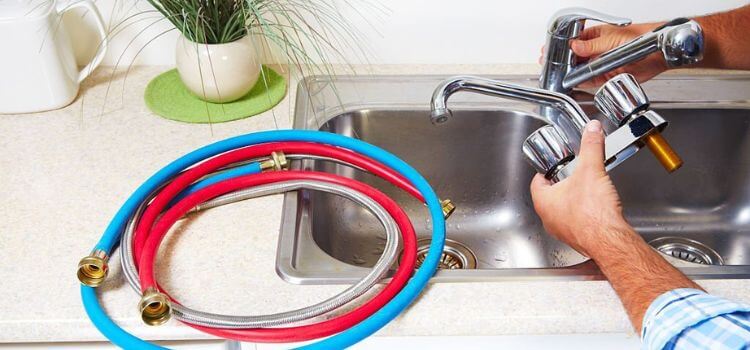
Turning off the water supply
Before starting any repair work, turning off the water supply to your faucet is crucial to prevent flooding and potential injury.
Locating the shutoff valves
Underneath your sink, you should find two shutoff valves – one for warm water and one for cold water. These valves typically have a round or oval handle.
Turning off the valves
Turn the handles of the shutoff valves clockwise to shut off the water supply. Test the faucet to ensure that no water is flowing before proceeding.
Diagnosing the cause of the leak
Determining the source of the leak is essential to perform the appropriate repairs. Familiar leak sources include the faucet handle, spout, or base.
Identifying common leak sources
Examine your faucet closely to pinpoint where the water is leaking. Leaks from the handle may indicate a problem with the cartridge or stem, while worn O-rings or seals might cause leaks from the spout. A worn-out diverter valve or faulty connections may be to blame for leaks at the base of the faucet.
Troubleshooting tips
Once you’ve discover the source of the leak, consult your faucet’s manual or the Kohler website for troubleshooting advice specific to your faucet model.
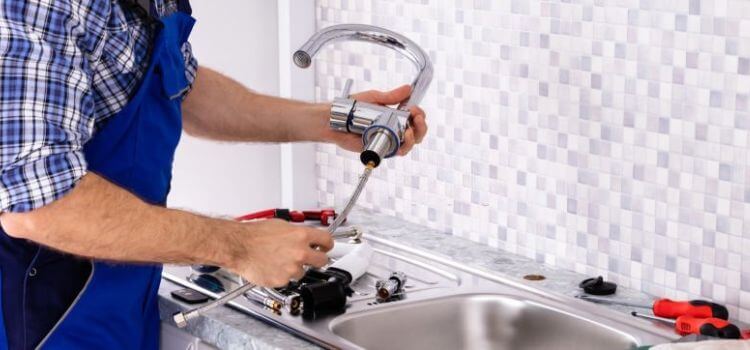
How to Fix a Leaky Single-Handle Kohler Kitchen Faucet
Fixing a leaky single-handle Kohler kitchen faucet typically involves addressing issues with the cartridge, O-rings, or seals. Follow these steps to fix the leak:
Turn off the water supply: Shut off the supply of water to the faucet by turning the valves under the sink clockwise. Turn on the faucet to release any residual water and pressure.
Remove the faucet handle: Use an Allen wrench to remove the screw at the handle’s base or beneath a decorative cap. Carefully lift the handle of the faucet assembly.
Remove the retaining nut or clip: A retaining nut or pin might secure the cartridge, depending on your faucet model. Use an adjustable wrench to remove the hook and loosen the retaining nut or needle-nose pliers.
Remove the cartridge: Carefully pull the cartridge straight up and out of the faucet body. If the cartridge is stuck, use pliers for extra leverage but be careful not to damage the cartridge.
Inspect and replace the cartridge: Examine the cartridge for signs of wear or damage. Replace it with a new cartridge designed explicitly for your Kohler faucet model if necessary.
Replace the O-rings and seals: Remove the old O-rings and seals from the faucet assembly. Apply a little amount of the plumber’s grease to the new O-rings and seals, then install them onto the faucet.
Reassemble the faucet: Insert the new or cleaned cartridge back into the body, ensuring it is aligned correctly. Secure the cartridge with the retaining nut or clip, reattach the handle, and tighten the screw.
Test the faucet: By opening the valves underneath the sink, you can start the water supply. Test the faucet for leaks and proper operation, ensuring the handle moves smoothly and the faucet turns on and off correctly.
How to Fix a Leaky Double-Handle Kohler Kitchen Faucet
For a double-handle faucet, follow these steps to fix a leak:
Disassembling the faucet handles
Remove the handles: Locate the screws on each handle, often hidden under decorative caps or buttons. After removing the screws with a screwdriver, lift the handles off the faucet.
Remove the packing nuts: Unscrew the nuts that hold the stems in place using an adjustable wrench.
Replacing the stem and washer
Remove the old stems: Pull the branches straight up and out of the faucet body. Take note of the stems’ orientation to ensure proper installation of the new limbs.
Inspect and replace the washers: Check the condition of the washers at the bottom of the stems. Replace them with fresh washers if they are worn out or damaged.
Insert the new stems: Apply a small amount of plumber’s grease to the new stems’ threads and O-rings, then carefully insert them into the faucet body, ensuring they are oriented correctly.
Secure the stems: Replace the packing nuts and tighten them with an adjustable wrench.
Reassembling the faucet handles
Reattach the handles: Place the holds back onto the faucet, correctly aligning them. Secure them with the screws you removed earlier.
Replace the decorative caps or buttons: If applicable, place the decorative caps or buttons back onto the handles.
Test the faucet: Open the shutoff valves to start the water flowing, then check the faucet for leaks and correct operation.
How to Fix a Leaky Pull-down or Pull-out Kohler Kitchen Faucet
If you have a pull-down or pull-out faucet, follow these steps to fix a leak:
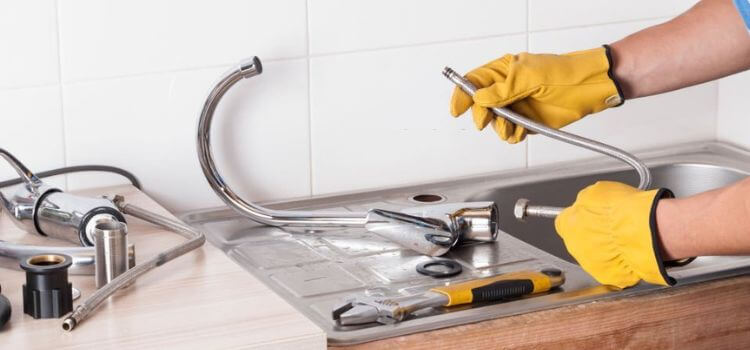
Disassembling the faucet head
Disconnect the spray head: Unscrew the spray head from the hose by turning it counterclockwise.
Remove the hose weight: Slide the hose weight off the hose.
Replacing the hose and O-rings
Remove the old hose: Pull the hose out of the faucet body.
Install the new hose: Insert it into the faucet body, ensuring it is correctly threaded through the spout.
Replace the O-rings: Apply a small amount of plumber’s grease to the new O-rings, then install them onto the hose connections.
Reattach the hose weight: Slide it back onto it, ensuring it is positioned correctly according to your faucet’s manual or the Kohler website.
Connect the spray head: Screw the spray head onto the hose by turning it clockwise. Be careful not to overtighten the connection.

Reassembling the faucet head
Test the spray head function: With the water supply still turned off, gently pull down or out on the spray head to ensure it moves smoothly and retracts properly.
Test the faucet: Activate the water supply by opening the shutoff valves, then test the faucet for leaks and proper operation, including the spray head function.
How to Fix a Leaky Kohler Kitchen Faucet Spout
Fixing a leaky Kohler kitchen faucet spout typically involves addressing issues with the diverter valve, O-rings, or seals. Follow these steps to fix the leak:
- Turn off the water supply: Turn the valves under the sink in the clockwise direction to turn off the supply of water to the faucet. Turn on the faucet to release any residual water and pressure.
- Remove the faucet handle(s): Use a strong Allen wrench to remove the screw at the handle’s base or beneath a decorative cap for a single-handle faucet. For a double-handle faucet, remove both handles using the same method. Carefully lift the handle(s) off the faucet assembly.
- Remove the spout: Gently wiggle the spout side to side while lifting it to remove it from the faucet base. Some models may require loosening a set screw under the spout or at the bottom before removal.
- Inspect and replace the diverter valve: If your faucet has a diverter valve, locate it within the faucet body. Inspect the diverter valve for wear or damage, and replace it with a new one designed for your Kohler faucet model if necessary.
- Replace the O-rings and seals: Remove the old ones from the faucet base and spout. Apply a little amount of the plumber’s grease to the new O-rings and seals, then install them onto the faucet base and spout.
- Reassemble the faucet: Carefully align the spout with the base and slide it back into place. Ensure the tap moves smoothly and sits securely on the floor. Reattach the handle(s) and tighten the screw(s) using an Allen wrench.
- Test the faucet: Turn on the water supply again by opening the valves under the sink. Test the faucet for leaks and proper operation, ensuring the spout does not leak, and the handle(s) move smoothly.
How to Fix a Leaky Kohler Kitchen Faucet Base
If the leak is coming from the base of the faucet, follow these steps:
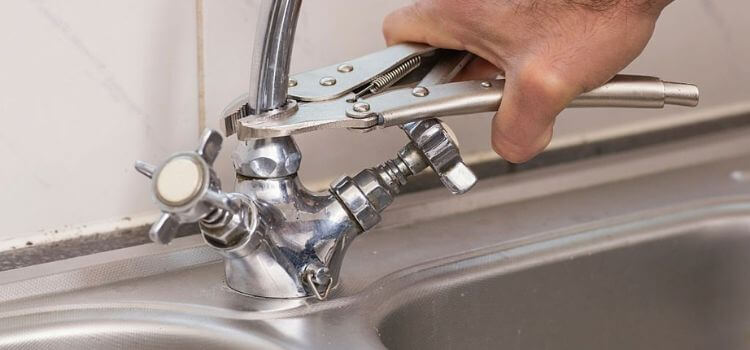
Tightening the base nuts
Locate the base nuts: The nuts are typically found underneath the sink, connecting the faucet to the countertop.
Tighten the base nuts: Use an adjustable wrench to tighten them, careful not to gently overtighten them.
Applying plumber’s putty
Remove the faucet: If the leak persists after tightening the base nuts, you may need to remove the faucet and apply the plumber’s putty to create a watertight seal.
Apply plumber’s putty: A small amount should be formed into a rope-like shape, then pressed around the faucet’s base where it connects to the tabletop.
Reinstall the faucet: Carefully lower the faucet back into position, then tighten the base nuts with an adjustable wrench.
Test the faucet: Turn on your faucet water supply by opening the shutoff valves, then test the faucet for leaks and proper operation.
Maintenance Tips for Preventing Future Leaks
To prevent future leaks and prolong the lifespan of your Kohler kitchen faucet, follow these maintenance tips:
Regular inspections: Periodically check your faucet for signs of wear, damage, or potential leaks. Addressing issues promptly can prevent more significant problems and reduce water waste.
Clean your faucet: Keep it clean by regularly wiping it down with a soft and fresh cloth and mild soap. This cleaning system can help prevent the buildup of mineral deposits, which can cause leaks and affect the faucet’s performance.
Lubricate moving parts: Apply a little amount of plumber’s grease to the moving parts of your faucet, such as the cartridge, stem, or O-rings, as needed. This can help maintain smooth operation and reduce wear on the components.
Replace worn parts: Monitor the condition of your faucet’s features, such as O-rings, seals, washers, and cartridges, and replace them as needed to maintain optimal performance and prevent leaks.
Ensure proper installation: Ensure your faucet is installed correctly, according to the manufacturer’s instructions, to avoid potential leaks or damage. If you need more clarification about the installation process, consider hiring a professional plumber.
Avoid overtightening: When performing repairs or maintenance, be cautious not to overtighten connections or components, as this can cause damage and lead to leaks.
Adjust water pressure: Excessive water pressure can cause wear on your faucet and lead to leaks. Installing a pressure-reducing valve or adjusting your home’s water pressure to a safe range (typically between 40 and 60 psi) can help prevent leaks and extend the life of your faucet.
Use genuine replacement parts: Always use genuine Kohler replacement parts designed to fit and function properly with your specific faucet model. Using generic or non-Kohler parts may provide a different level of performance and could lead to leaks or damage.
When to Call a Professional Plumber
While a DIY enthusiast can perform many faucet repairs, there are instances when calling a professional plumber is the best course of action:
Complex repairs: If the repair process seems too complicated or beyond your skill level, hiring a professional plumber is best to avoid causing further damage or voiding your faucet’s warranty.
Persistent leaks: If you’ve attempted repairs, but the leak persists, a professional plumber can diagnose and fix the issue more effectively, potentially identifying an underlying problem that requires attention.
Lack of tools or experience: If you need the necessary tools or expertise to safely and effectively repair your faucet, it’s advisable to call a professional plumber to ensure the job is done correctly.
Potential damage to your home: If a leak is causing water damage, or you suspect it may lead to damage if not addressed immediately, it’s important to call a professional plumber to mitigate further damage and address the root cause.
Warranty concerns: Some faucet warranties require repairs by a licensed professional. If you need help determining whether repairing your faucet yourself would void the warranty, contact the manufacturer or consult your warranty information and consider hiring a professional plumber.
Suppose you feel unsure or uncomfortable about any aspect of a faucet repair. In that case, it’s always a good idea to call an experienced plumber to ensure the repair is completed safely and effectively.
Conclusion
How to fix a leaky Kohler kitchen faucet? It is achievable for many homeowners with little patience and the right tools. By following this comprehensive guide, you can save money on water bills, prevent potential water damage, and prolong the lifespan of your faucet.
Remember to consult your faucet’s manual or the Kohler website for specific instructions and troubleshooting advice, and don’t hesitate to call a plumber if you need assistance.
FAQs
What are the most common reasons for a Kohler kitchen faucet to leak?
The most common reasons for a leaky Kohler kitchen faucet include worn or damaged O-rings, seals, cartridges, stems, or washers. Additionally, loose connections or a faulty diverter valve can also cause leaks.
Can I fix a leaky Kohler kitchen faucet, or should I always call a plumber?
A: Many homeowners can successfully repair a leaky Kohler kitchen faucet by following the appropriate steps and using the correct tools. However, if the repair seems too complicated, the leak persists after attempting repairs, or you are concerned about voiding the faucet’s warranty, it’s best to call a professional plumber for assistance.
Where can I find replacement parts for my Kohler kitchen faucet?
You can find replacement parts for your Kohler kitchen faucet through the Kohler website, local plumbing supply stores, or large home improvement retailers. Ensure your faucet’s model number is handy to ensure you purchase the correct parts.
How do I find the model number of my Kohler kitchen faucet?
The model number can usually be found on the faucet’s original packaging, the installation manual, or a sticker or tag on the faucet itself. If you need help locating the model number, visit the Kohler website or contact customer support.
How can I prevent my Kohler kitchen faucet from leaking in the future?
To prevent future leaks, perform regular inspections for signs of wear or damage, clean and lubricate moving parts as needed, and replace worn components promptly. Additionally, ensuring proper installation and maintenance of your faucet can help prolong its lifespan and prevent leaks.
Leave a Reply